Azure Files offer fully managed file shares in the cloud. These file shares are accessible via the industry standard Server Message Block (SMB) protocol. Azure Files can be used to replace or supplement traditional on-premise file servers or NAS devices. Being able to share a file system across multiple applications or machines is a significant advantage to applications that seek that kind of share ability.
It is no secret that all BI platforms provide capability to export reports/dashboards to pdf, xlsx, docx file formats. In addition to sharing across applications, organizations use Azure Files to share such files downloaded from BI systems and other related documents, which provide valuable insights to the user. While Azure Files can be visualized as a files portal, BI Hub is an enterprise BI portal and an integration between the two, empowers the user to perform effective analysis of insights.
Azure file share integration with BI Hub is a simple 3 step process and this blog illustrates those steps. BI Hub file agent treats the Azure Files mounted folder as another network drive and makes it viewable to BI Hub users.
Setting up the Azure File Share
Create a new Storage account in Azure or open an existing Storage account and navigate to the Files Section. Click on File Share to add a new File Share.
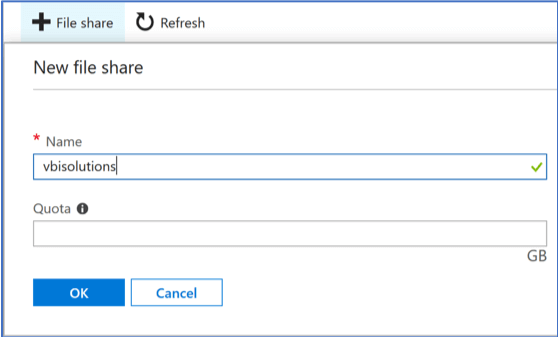
Select the properties of the File share and click on connect. A property box with the necessary command to mount the File Share in Windows is displayed. Run the command to get the file share mounted in Windows.
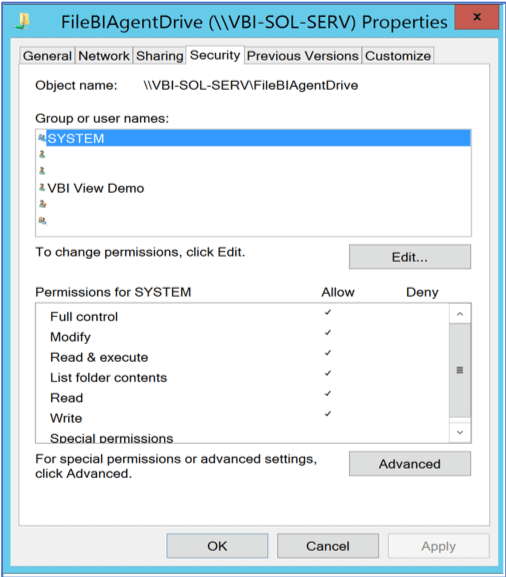
Exposing the Folder to the Network
Once the Share is mounted, the next step is to expose the locally synchronized d folder to connect with BI Hub. The folder must be shared on the network, made accessible to the host on which BI Hub file agent is installed. The Service account should have Full access on the Folder and the other users can have a minimum of View access to the respective folders or files inside it.
Access Azure Files using BI Hub File BI Agent
The final step is to configure the BI Hub File BI Agent. Install the File BI Agent by following the instructions specified in the BI Hub Installation guide. Configure the File BI Agent to access the above shared path with the Service account. Upon completion of User synchronization and Reports synchronization in BI Hub, users will be able to consume the exposed Azure files in BI Hub seamlessly.
Conclusion
BI Hub is a gateway to all enterprise BI content. As elucidated above, organizations can implement this blog, to empower BI Hub users to seamlessly access Files stored in Microsoft Azure in one page along with other enterprise BI reports/dashboards. Since files are stored in Azure and shared across the enterprise through BI Hub, the storage cost is drastically reduced, and duplication of files is mitigated.